Your Mac OS X-based laptop will try to connect to available WiFi networks in the order they are listed in the networking preferences. This can sometimes be an issue while on campus if you have connected to the attwifi network in the past and your Mac is prioritizing it above the WiFi-UNI network. The following instructions will walk you through checking your WiFi network priority list and ensuring that WiFi-UNI is at the top for the quickest and surest connection while on campus.
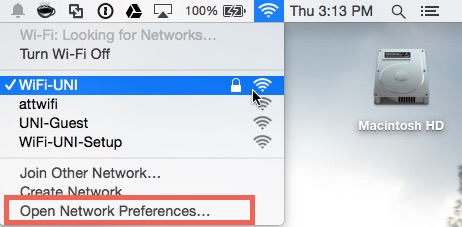
1. After booting and logging into your Mac, look at the menu bar in the top right-hand corner for the wireless networks icon. Click on it. A pull-down menu appears. Choose Open Network Preferences.
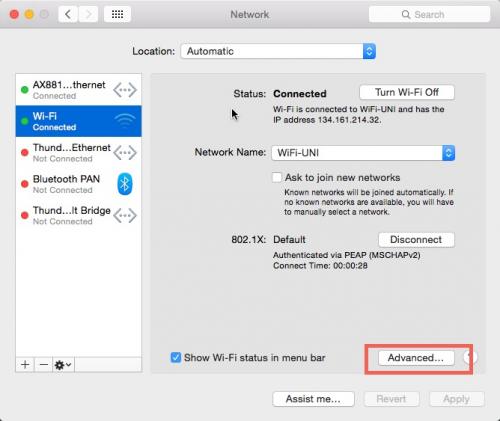
2. On the network preferences settings panel, ensure that the Wi-Fi adapter is selected in the list on the left-hand side of the panel, then click on the Advanced button in the lower right-hand corner.
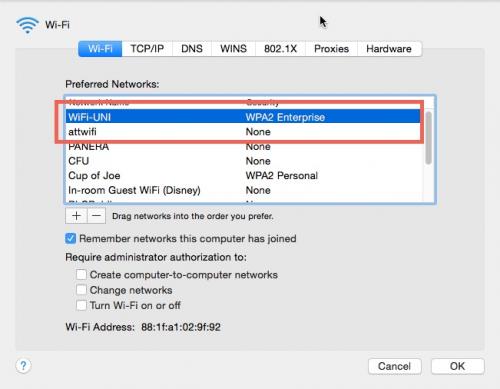
3. In the center of the advanced settings panel, you'll see a large box with a list of WiFi networks, called Preferred Networks. If your laptop is often connecting to a different WiFi network than you expected, it might be because your desired network is prioritized lower. In this example, our laptop is prioritizing a connection to the attwifi network over the UNI-WiFi network.
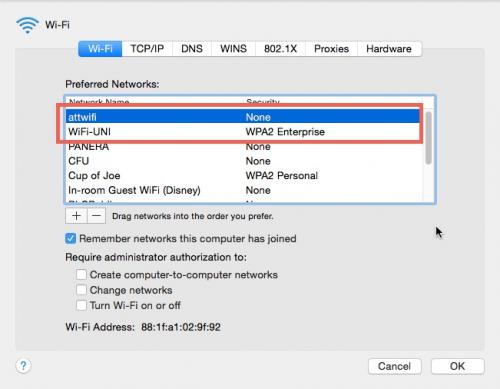
4. Click and drag your desired network to the top of the list. In this case, I'd rather connect to WiFi-UNI, it is faster and more secure for UNI faculty, students, and staff. When done, your Preferred Networks list should look like this: