
Request Role
You can request a role for yourself or any other user. By default you are requesting a role for yourself unless you change it by selecting the change user button. Note: you can never request the same role twice for the same user. If there is an active request for that role, the role cannot requested again.

To change users left click the “change user” button and the following screen will come up.
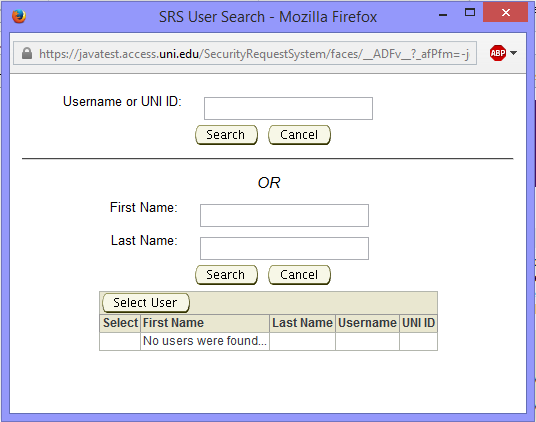
You can select a user based on their username/UNI ID number or by first name/last name. After searching for the user make sure to left click the radio button for that user then left click the "Select User" button. In our example we have entered last name of Scheer and searched. Left clicked on Cody Scheer radio button and can left click the "select user" button.

Now your request role screen will look like this:

We will reset back to the original user for the next examples.
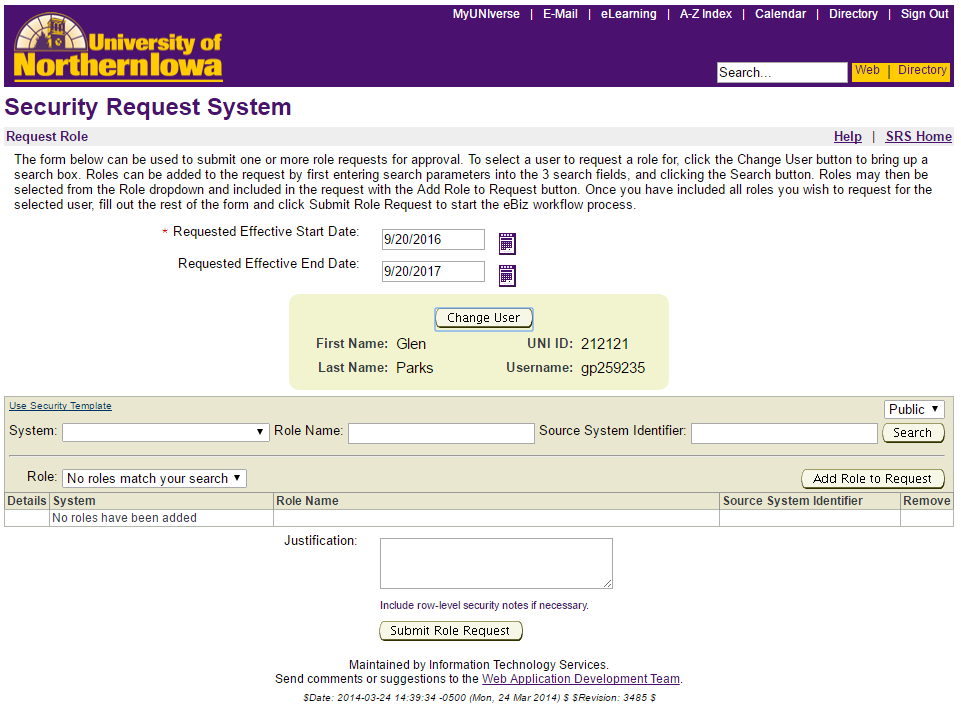
To request a role ….
In the system pulldown box you need to select a system. For our example we will choose “Web Custom” and then left click the "search" button. You must have an item selected in the system box or an error will occur.
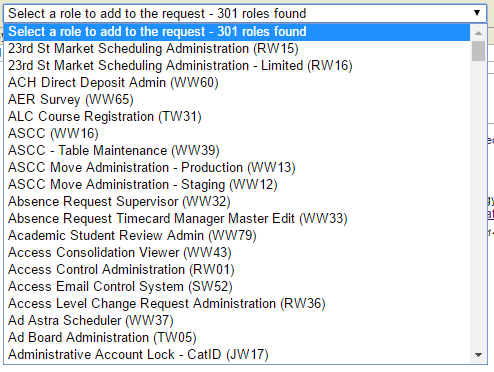
If you look in the Role selection it indicates that it found 221 roles to choose from.
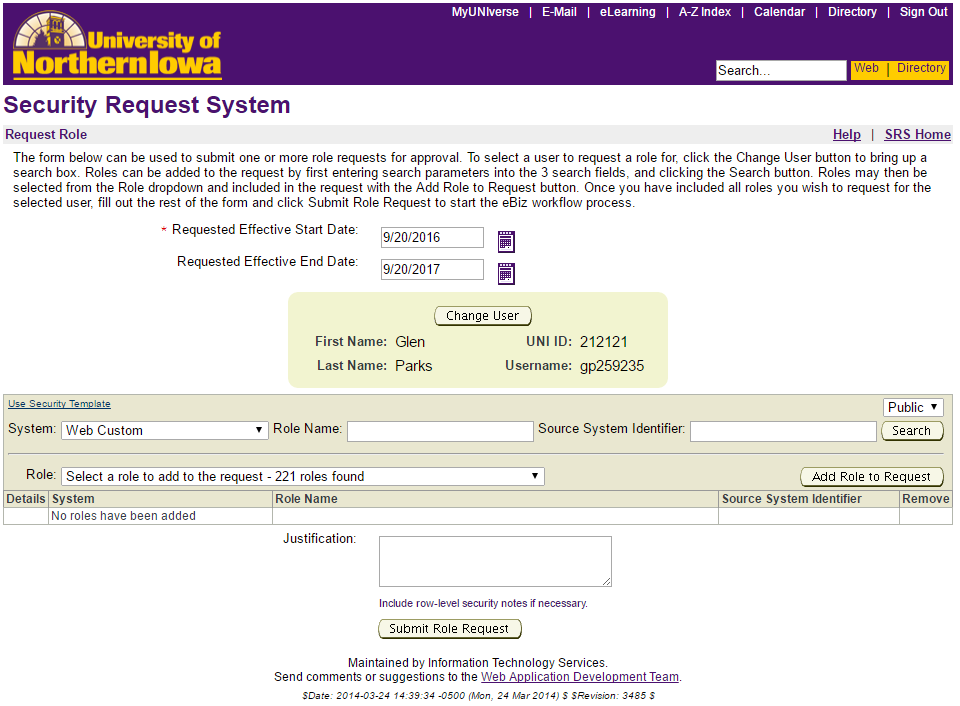
If you look in the Role selection it indicates that it found 301 roles to choose from. The only difference between admin and public is that public is for all generally used UNI public roles and admin shows all roles for the system. There is an additional 80 roles not seen by public.
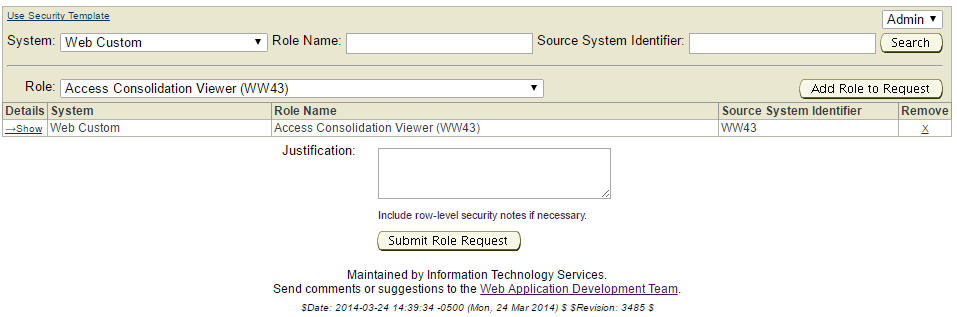
In the role pulldown box select the role you are requesting. For our example we are choosing SW43, the Access Consolidation Viewer.
Left click the role in the pulldown box and left click the add role to request button. Your role request is added below.
If you have other roles to request you would follow the same procedure for each role, until you have added all roles you wish to add. At that point you will add your justification for the role/roles you are requesting. If you have one role that requires justification and one that does not you will still have to enter the justification in the field and it will apply to all roles requested in the table when you submit. If different roles need different justification, you will need to submit these separately. Also if you need an end date where the role expires you can put it in the request effective end date box. This is also for all roles submitted, so if you would need multiple dates, or only one role would require an end date, you will have to submit those roles separately as well. For our example we will also request WW24, the Access Directory Viewer, and add this to the list.

To remove a role requested before you submit, you can left click the X in the remove column and it will delete the role request. If you wish to see additional information on the roles you wish to request click the show under the details column and a description, owners name and estimated workflow will be shown.
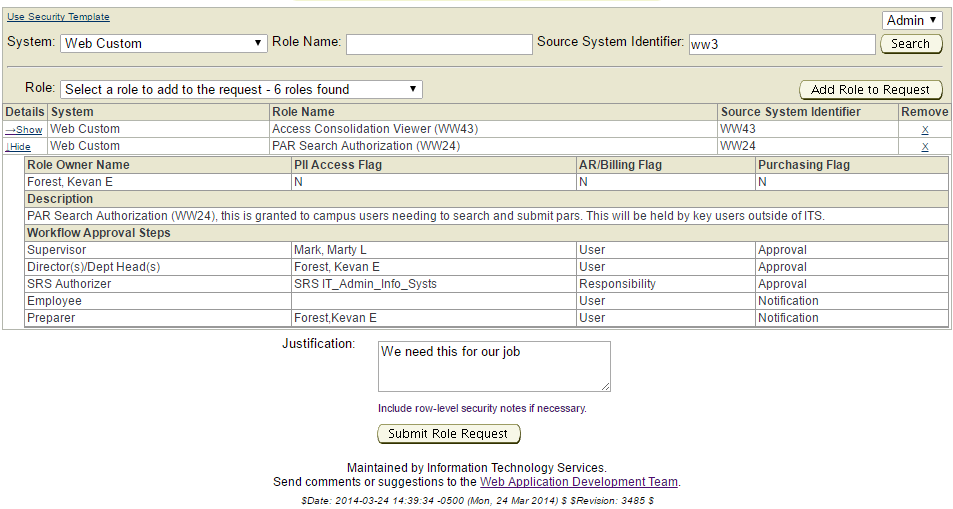
Once satisfied with your request/requests, left click the "submit role request" button and the following message should appear.

To submit a role request for someone other than yourself, you click the "change user" button as described earlier and follow the same instructions as above. You will be able to track the requests you have submitted for yourself and anyone else in the submitted role request section of the security request system.
The “Use Security Template” function above the system pulldown is an advanced feature that will not be discussed in this document.
To return to the Security Request System main menu, left click the "SRS Home" link at the top right of the page.

